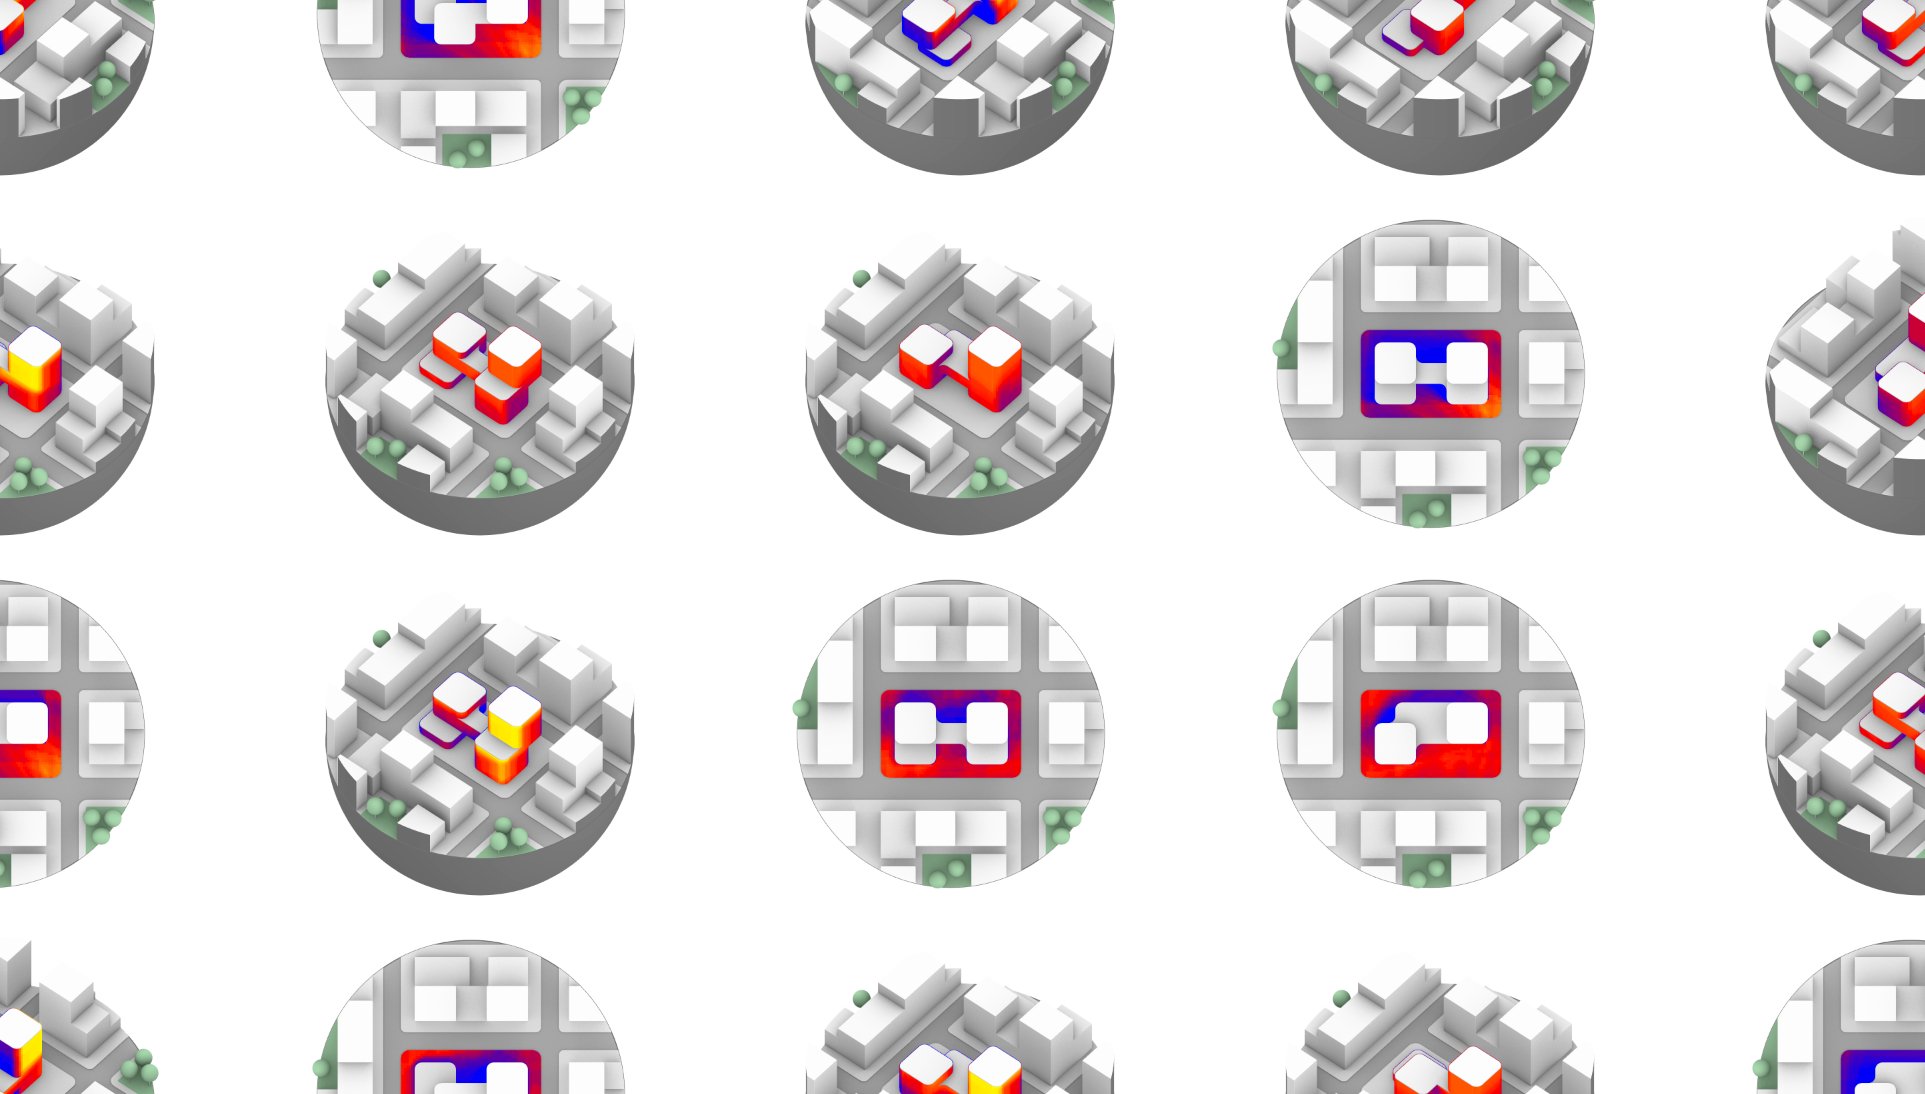
Automatic solar images
Repetiveness screams for automation.
What about a tool that could do quick basic solar studies and compare projects, with different zones of interest, different project versions, different period of the year or day, and from different views automatically from a handful of options?
If you’ve got some Grasshopper skills in the field of Architecture, chances are that you needed or have been asked to do solar studies at some point.
In this post, I’ll be showing one of the latest tools I’ve developed as of now, that is intended to automate a big part of the process of creating solar related images. The tool isn’t 100% finished yet, and might also be declined into variants for other studies / use cases.
While this is a custom script made for an office, the plugin used for the simulation is no other than Ladybug Tools. Shoutout also to Heteroptera, MetaHopper, Human, Kangaroo and Telepathy to allow for more interactions to work with, and/or simply make my life easier.
The 3D model
In a totally (not) real city is an empty plot, waiting for a weird (not) pink building to emerge.
The totally (not) real architect team wants to test 3 project versions, and analyze the hours of sun for both winter and summer, on both the plot and the façades of each project. The team wants also to be able to gather these sun studies in 3 different predefined views of choice.
Remember the key concept here, this setup is totally (not) real, and simply made for illustration purposes. Note that the round aspect of the site is also specific to this example and is certainly not a requirement.

The project version (in this case 3): “v_0”, “v_1” and “v_2”

The view angles (in this case 3): “West”, “Top” and “East”.
These must be saved as named viewports.

The time of the year and day (can be custom periods, and any number of them): “Summer” and “Winter”.
Note that we’re studying over a full day, which can also be set to custom hours, or “Morning”/”Afternoon”.

The zones to be studied (in this case 4): “ground”, “project_0’s facades”, “project_1’s facades” and “project_2’s facades”.
Note that a common thing to do is to study also the surroundings, but that simply isn’t illustrated in this example.
The manual stuff
As with any automatic work comes a little manual work. It’s just a matter of making sure the the little manual work doesn’t take longer than doing all the studies manually !
Needless to say the script requires decently clean model. It requires users to use a template file were geometries have to be dropped into specific layers (usually varies between 3 to 10, depending on the number of project versions, or the different zones to study separately, but there’s no limit on the number of projects/zones).
Here are some of the main settings that are available at the time of this writing:
Type of basic analysis (daylight hour or radiation)
Include or not the context for the simulation
Visibility settings (project/context) in images
Ladybug settings (resolution of analysis, color ranges, …)
Legend settings: dynamic, fixed or smart (fixed for view/period/target combo)
Time period settings (period of year and of the day)
IO settings (image format, resolutions, file path, …)
Display mode selection (allows for custom made display mode)
…
The most important setting of all, is at the component “Inter Topology Component” from Heteroptera.
This is the key part where the user decides what studies to do for each projects, targets, views, time of the year, time of the day (more maybe to come).

On the left: Empty component, that has synced to the current model and settings
On the right: Filled up component with all the desired studies to perform
Hereunder is a more “step by step” approach to filling up the component with the corresponding sentence to have in mind while doing so.

On the left: “For both summer and winter, over a full day, we want to see, from the top view, the ground floor (site) study for each of the 3 projects”. This counts for 6 images.
In the middle: “For both summer and winter, over a full day, we want to see, from “West” view, the facade studies for each of the 3 projects”. This counts for 6 images.
On the right: “For both summer and winter, over a full day, we want to see, from “South” view, the facade studies for each of the 3 projects”. This counts for 6 images.
The automated stuff
Once everything is setup and the user filled up the component that dictates the images to create, there’s one last thing to do: animate this slider below.

To do so, a simple “right click” on the slider and the click “animate”. Note that a red panel tells the user the number to put in the “number of frames” dialogue box. In this case it will create 18 images, from 0 to 17.
While the animation is underway, the user is encouraged get another cup of tea, while Grasshopper is doing all the heavy lifting. In the back ground, with the help of a custom made graph component, the slider will extract the paths from the main component showcased earlier, and change rhino’s viewports while activating/deactivating layers, run the simulation and save files with a precise name.
Speaking of the naming, this can be also adjusted to preferences, but each image’s name contains all the information about time periods, project, view, target, …
Currently the naming is as follow: v-South__tp-summer__h-Full day__t-f_v0__p-0__a-solarHour.png to allow the user to quickly swap between images in Windows/Mac and see the impact of the different projects, as this naming sorts itself in a specific order.
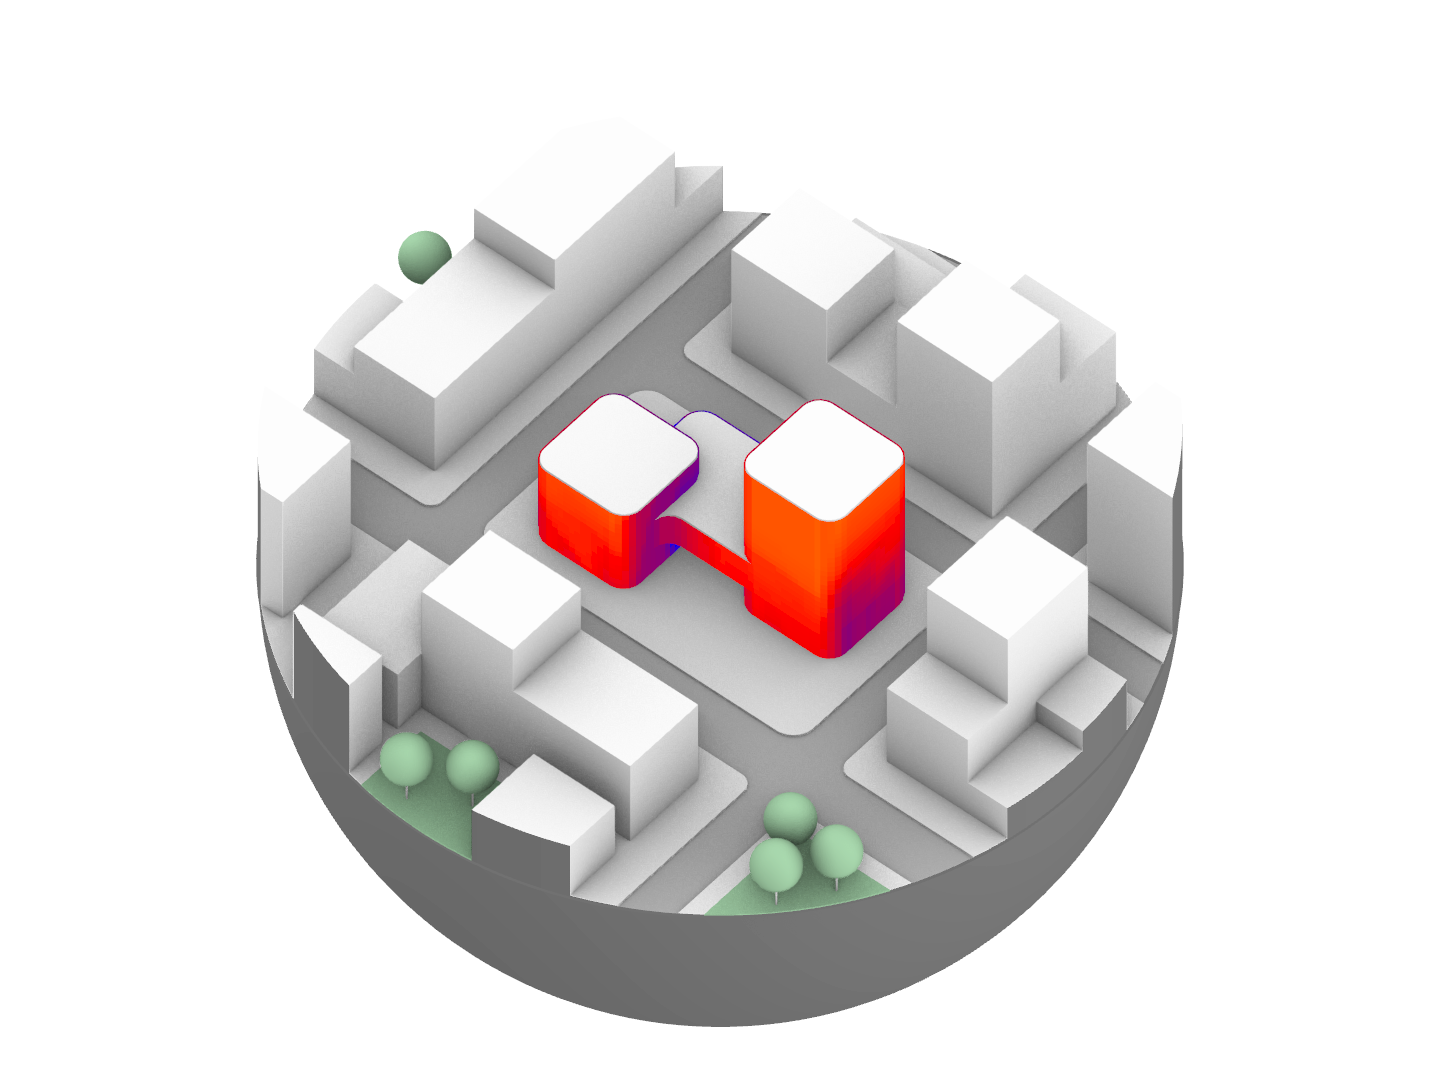
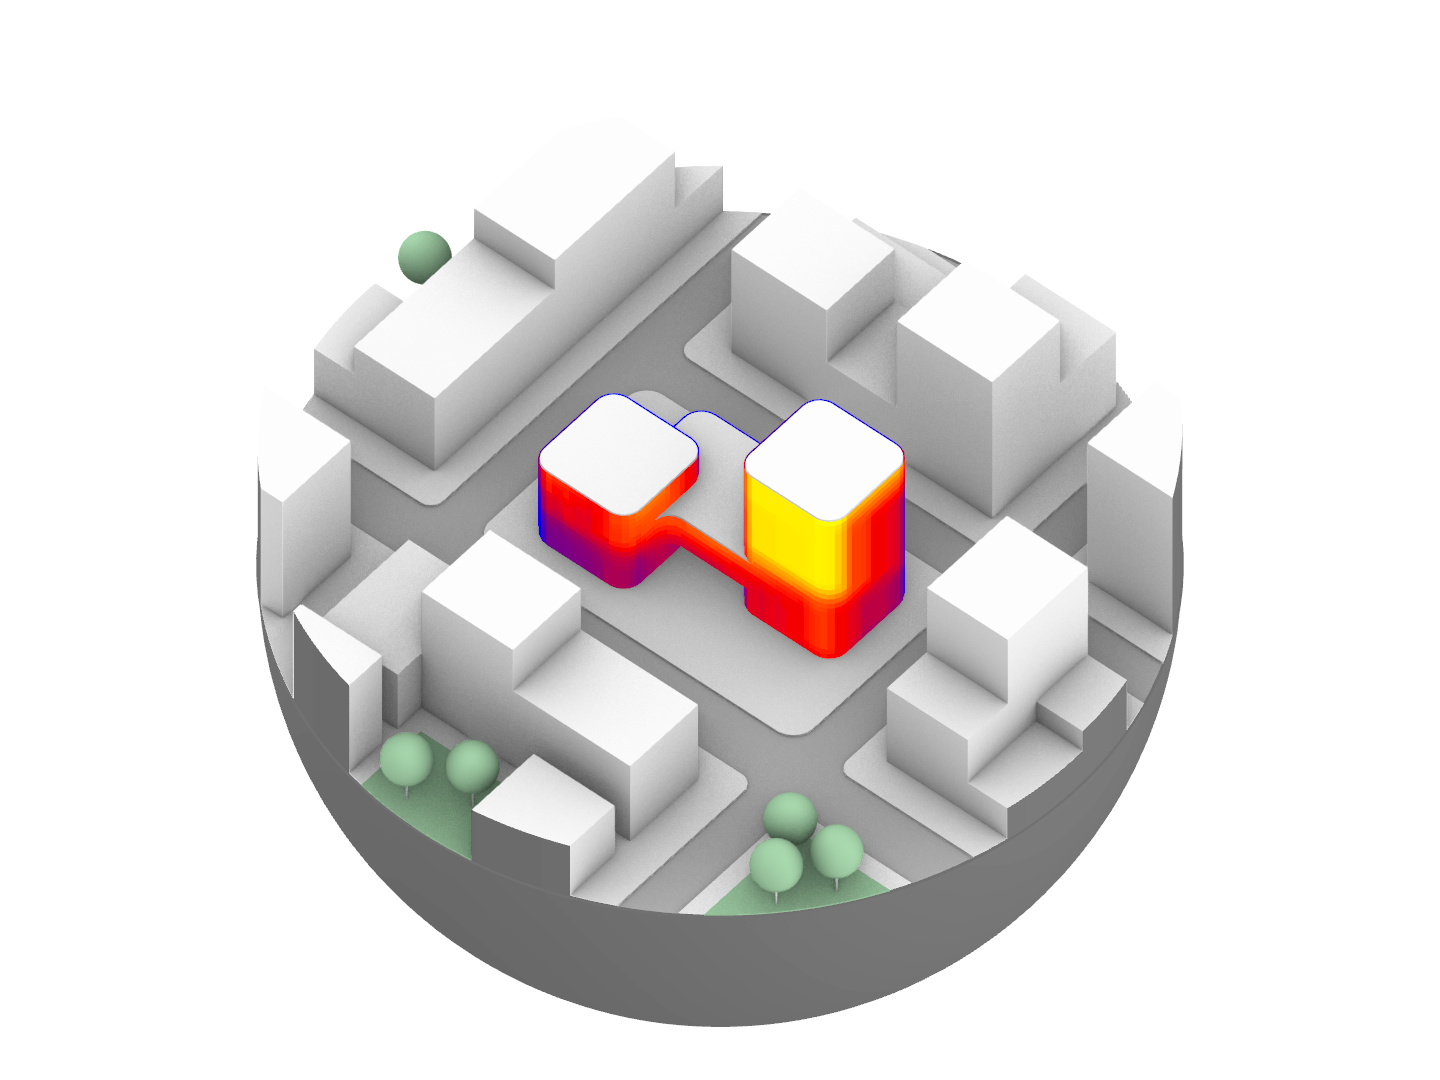
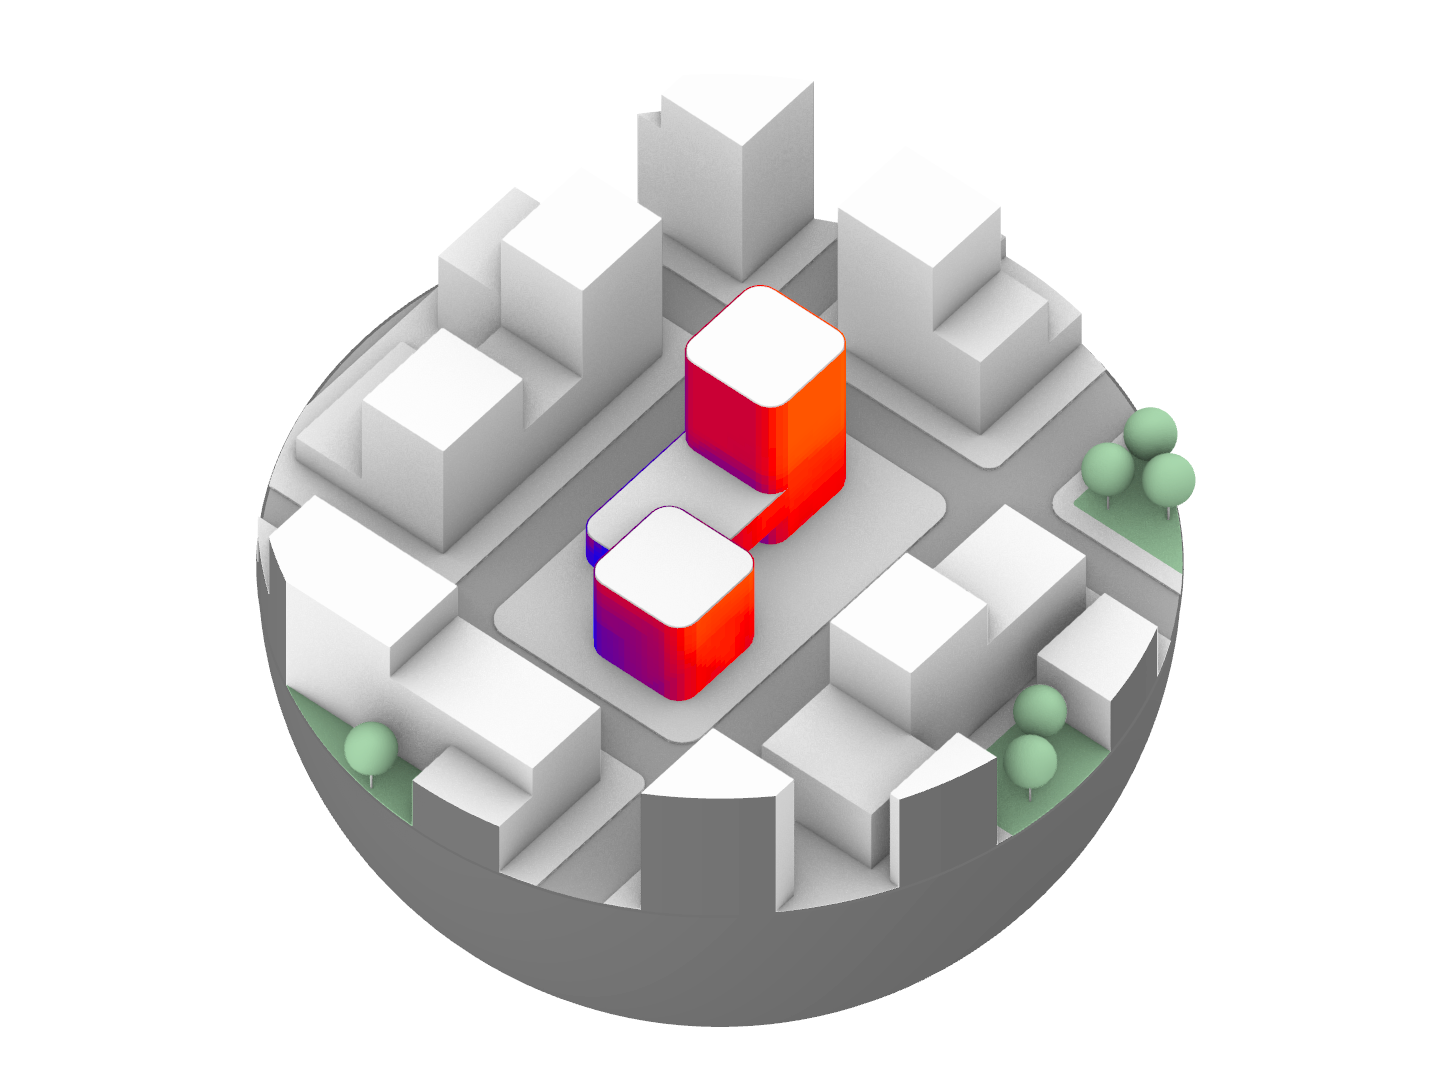
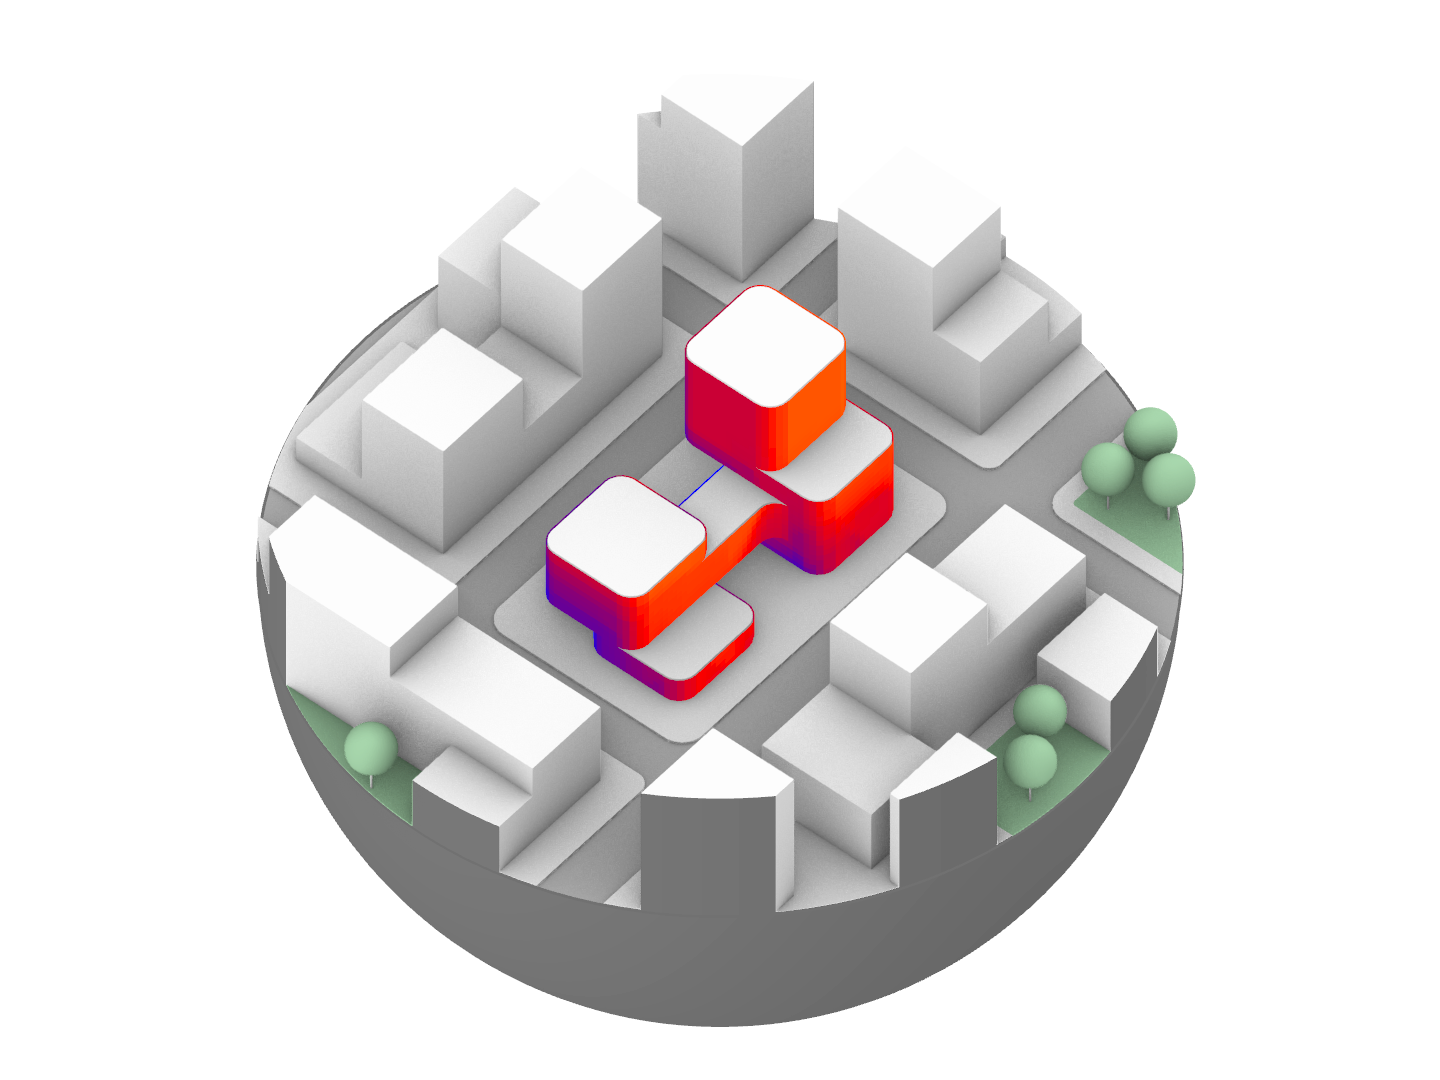
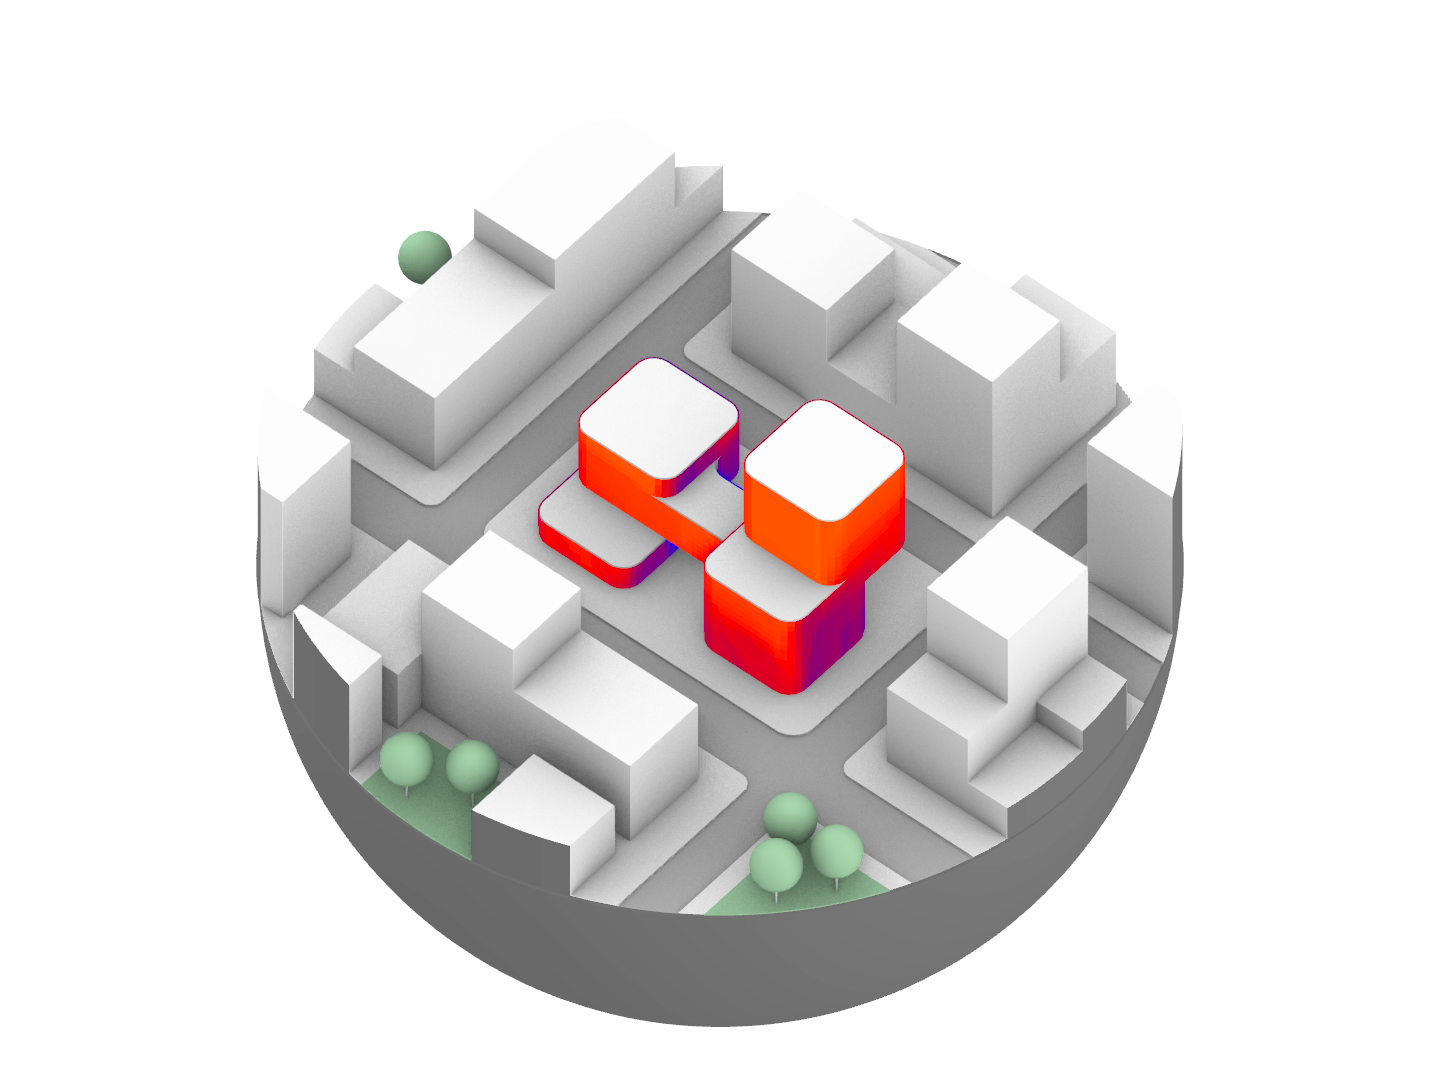
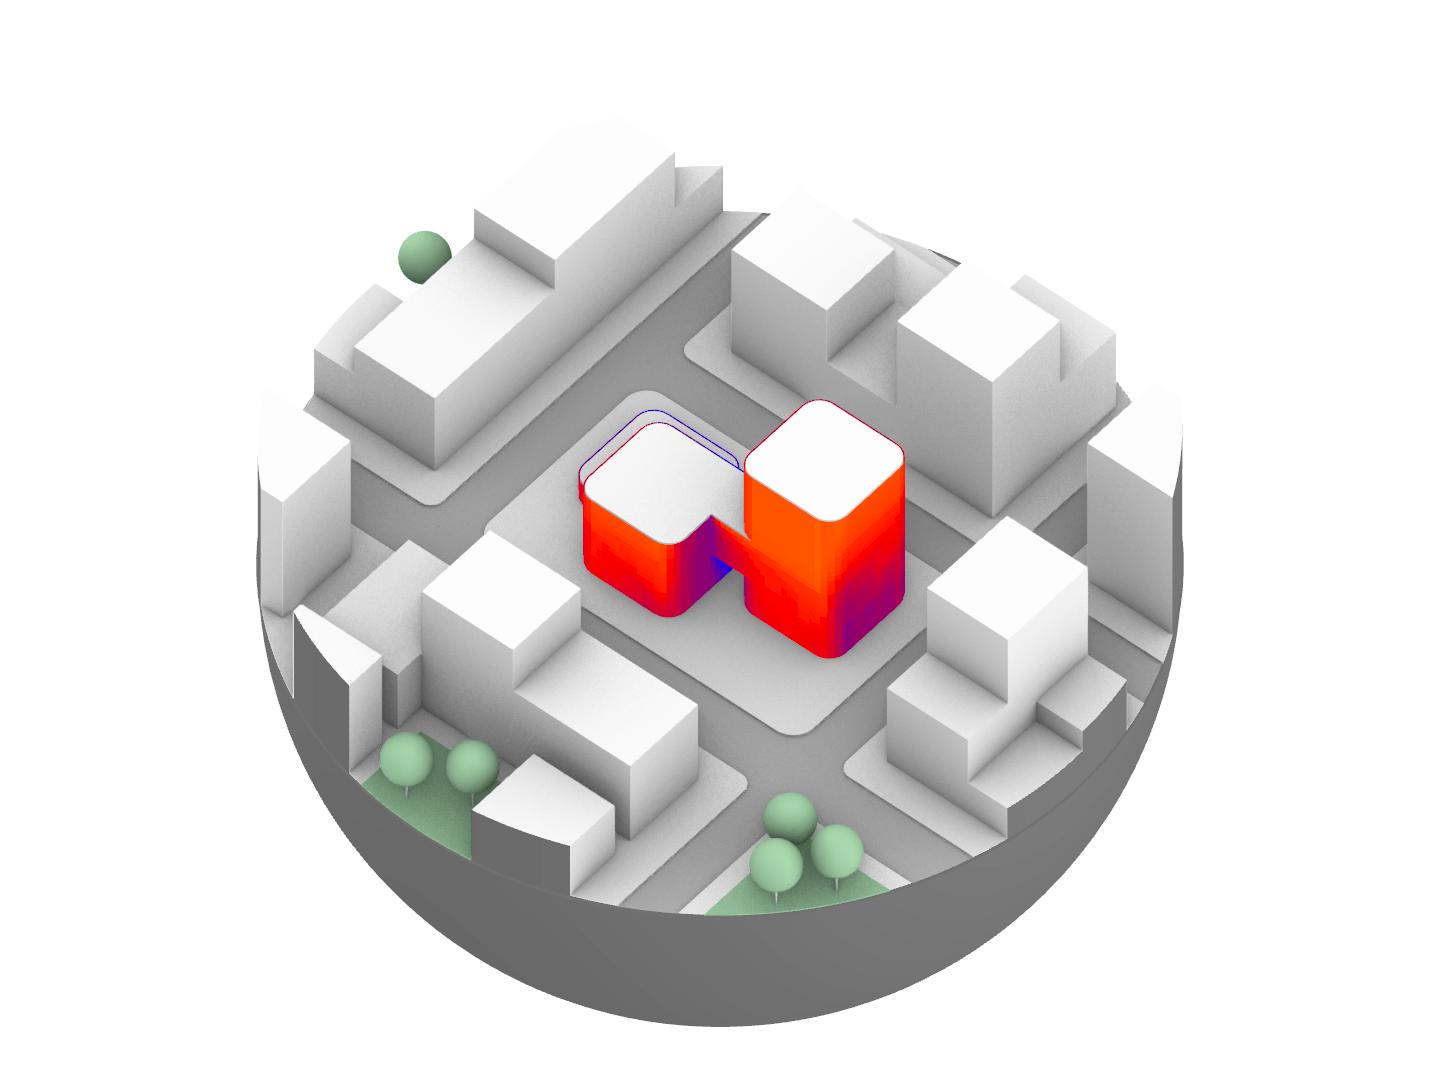
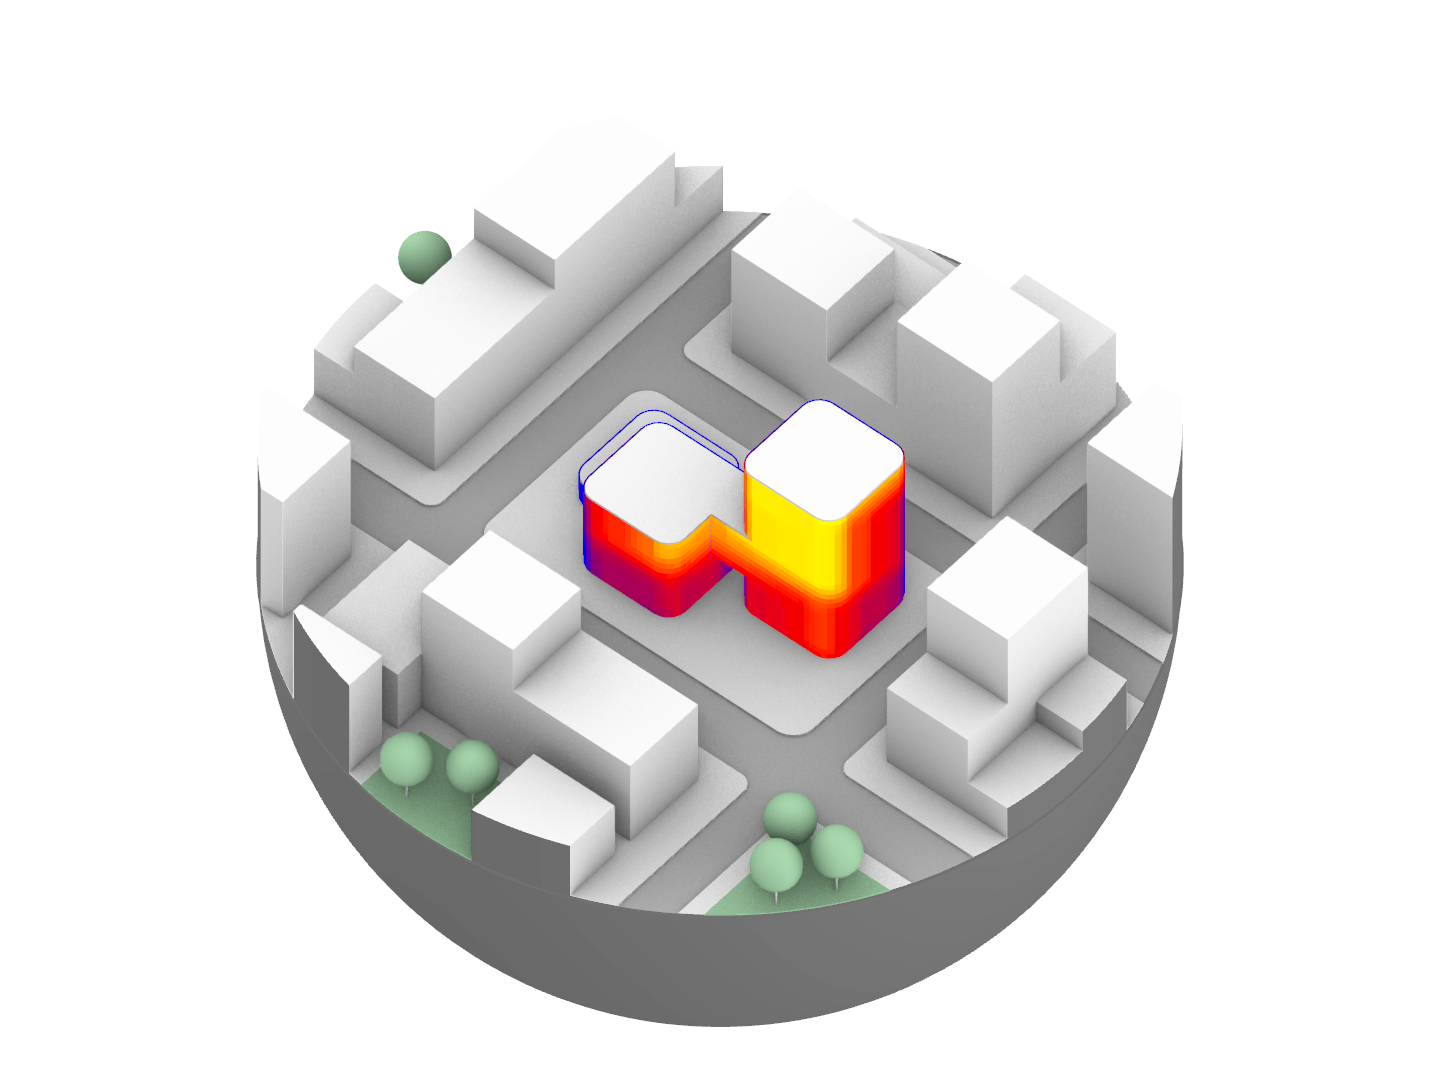
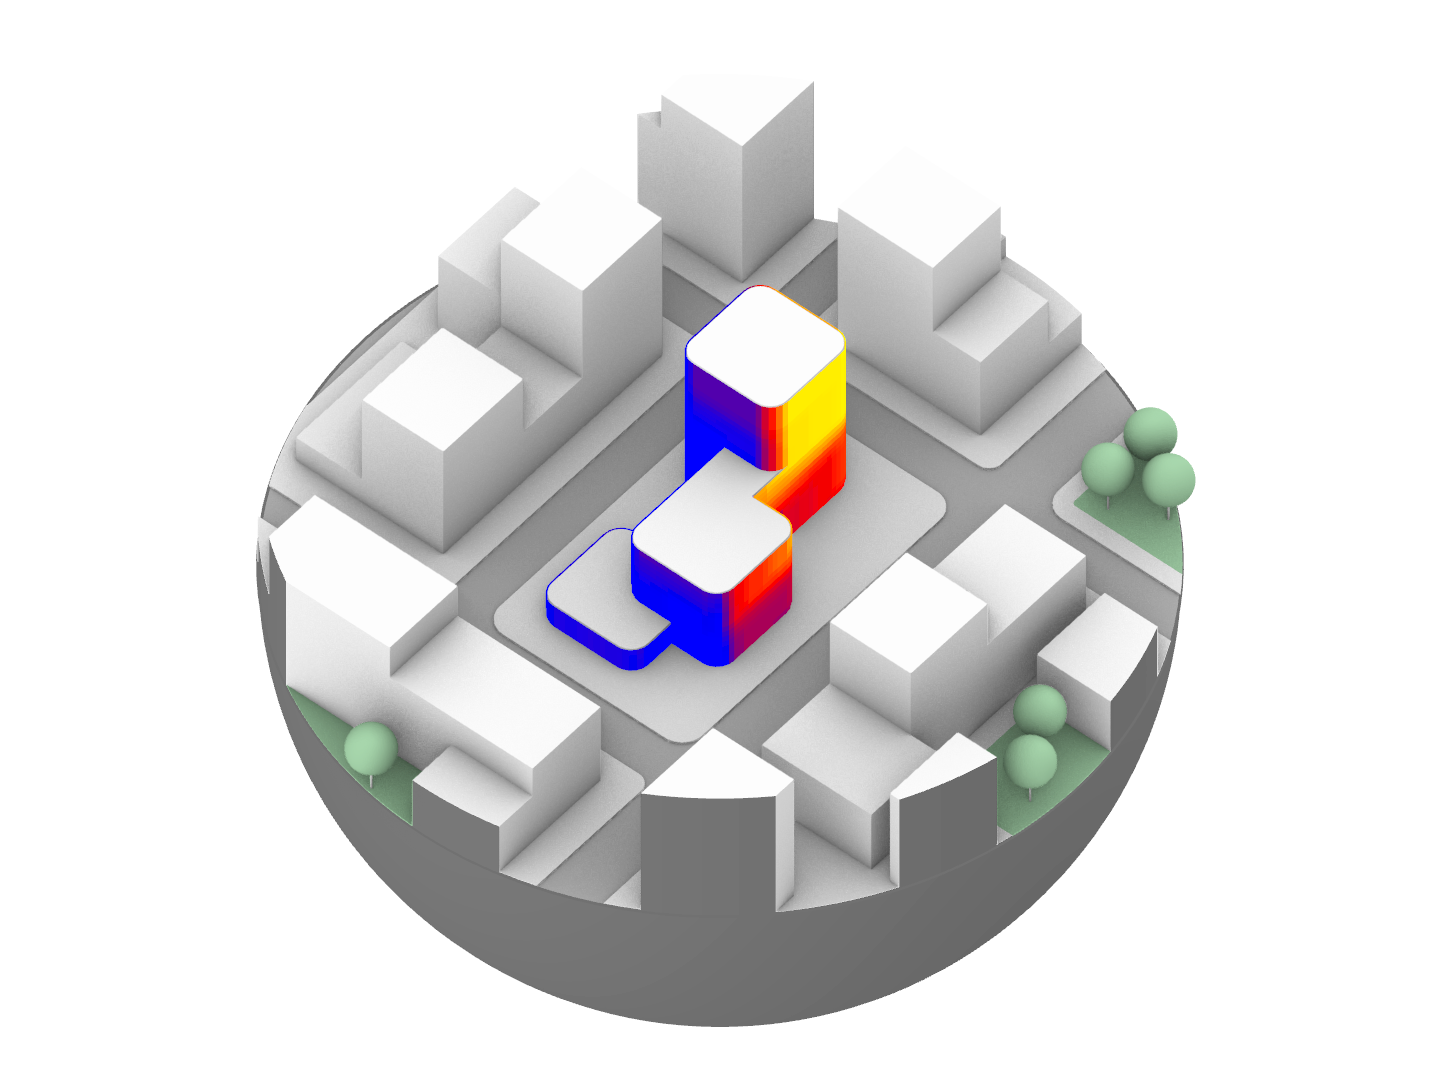
And the moment we’ve all been waiting for: the untouched images directly from this script.
The process of making these images (without the modeling part) reduces the time by over 95% from a Ladybug ready made script that requires the user to save the images manually while reducing the risk of user-made errors, assuming that the user knows how the tool works and that the model is decently clean.
More options are more likely to be added to this tool, as it has also been developed in a flexible way, allowing for tweaks and scaling. I will do my best to keep this post updated with the latest big updates !
Antoine - 2023
